How to Create an RCS Broadcast Campaign
After creating an RCS message template, the next step is to use it in a broadcast campaign. This article explains how to set up, test, schedule, and send an RCS campaign using BotBee.
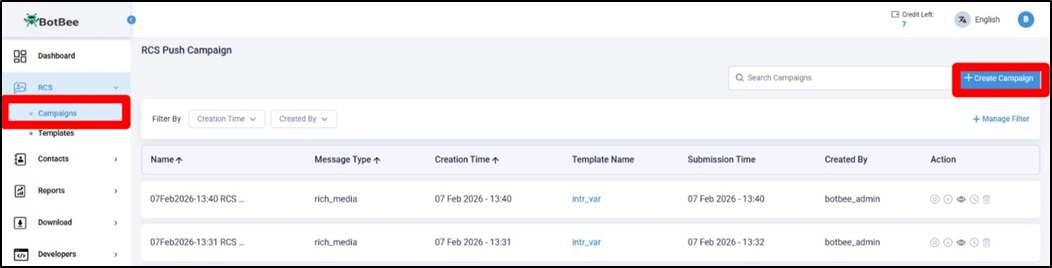
Step 1: Create an RCS Broadcast Campaign:
- Go to the Campaigns under RCS section in the BotBee Dashboard.
- Select Create Campaign to start setting up your RCS broadcast.
Campaign Details:
- Under Campaign Details, provide the following information:
- Campaign Name – A unique and identifiable name for your RCS broadcast campaign.
- Campaign Category – Acts as a tag to help organize and track your campaigns.
- Agent Type – Select whether the campaign is Promotional or Transactional, based on the nature of the message.
- Ensure the selected agent type matches the agent chosen while creating the RCS template.

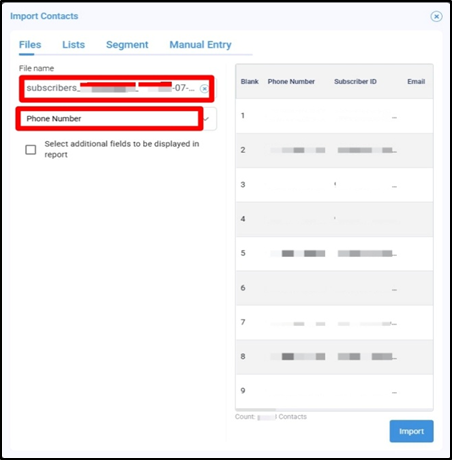
Upload Contacts:
- Next, upload the contact numbers to which you want to broadcast the RCS campaign.
- BotBee supports uploading contacts in the following formats: CSV, XLS, XLSX, XLSB, TXT, ZIP
- You can also manually enter up to 50,000 contact numbers.
- Make sure the contact data is accurate to ensure successful message delivery.
Temporary Blacklist:
- Under Temporary Blacklist, add the contact numbers you want to exclude from this broadcast.
- Numbers added here will not receive the current RCS campaign.
- This is useful for excluding specific users for a particular campaign.
- The blacklist applies only to this broadcast and does not permanently block the numbers.

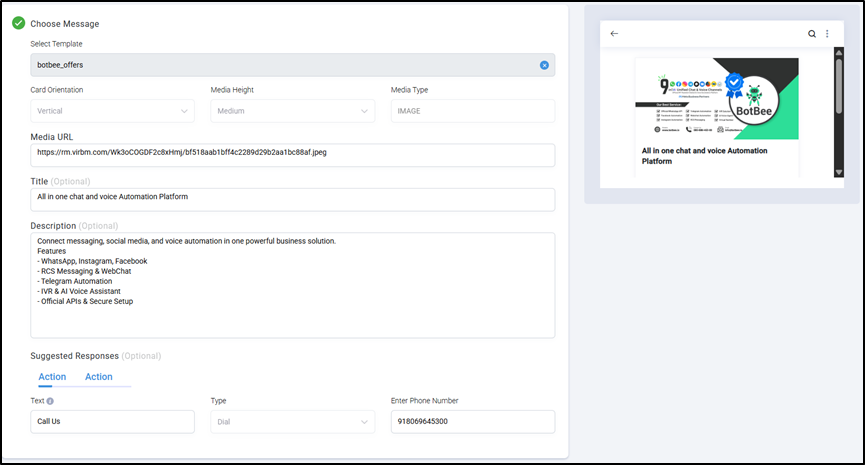
Choose Message:
Now select the message template you have created.
Test Campaign:
- Under Test Campaign, you can send a test broadcast before going live.
- Send the campaign to up to 10 contact numbers.
- Testing helps you verify the message content, media, buttons, and overall layout.
- Make any necessary changes after testing to ensure the campaign runs smoothly.

Now if you will submit the broadcast by clicking on Send. The broadcast will be sent immediately to all the selected contacts.
Step 2: Send or Schedule the RCS Campaign:
- Under Send or Schedule, choose how you want to deliver your RCS broadcast.
- You get two options:
- Stagger: You can enable Stagger to control the number of messages sent in intervals, helping manage delivery load and improve success rates. (Example: If you have 100 contacts and set Stagger = 20 messages every 5 minutes, the broadcast will be sent in batches instead of all at once.)

- Schedule: The campaign is sent at a specific date and time.
- One Time: The RCS campaign is sent only once at the scheduled date and time.
- While scheduling, you can set the Date and Time.
- Select the time zone too.

- Recurring: The campaign is sent repeatedly based on the selected schedule (for example, daily, weekly, or monthly).
- You can choose the end date according to your needs.
- Recurring campaigns are useful for regular updates, reminders, or ongoing promotional messages.

- Now Click on schedule and your broadcasting will be scheduled to the time selected.
Important Note on Pricing & Credits:
- The pricing charged for RCS messages varies depending upon the quantity. You can check it by clicking the link: https://botbee.io/pricing/
- Each RCS message sent consumes 1 message credit.
- Credits are deducted per message attempt, regardless of whether the message is successfully delivered or fails.
- Make sure to test your campaign and verify contact numbers before broadcasting to avoid unnecessary credit usage.
RCS broadcast campaigns in BotBee are easy to manage with flexible scheduling, testing, and delivery controls. By planning campaigns carefully and validating contacts in advance, you can optimize performance and use message credits efficiently.
Found this article helpful?
( 1 Out of 2 Found Helpful )