Connect the Gemini API to BotBee
Generate a Gemini API key in Google AI Studio, set up billing, and connect it to your BotBee dashboard — step by step.
WHAT YOU'LL COMPLETE
Important: Google's billing interface can vary by account, country, project, and billing plan. Always follow the options and minimum amount shown in your own account.
Open Google AI Studio
Sign in with the Google account you want to use for the Gemini API.
- Open aistudio.google.com
- Confirm you're signed in to the correct Google account.
Tip: Use the same Google account/project you plan to connect with BotBee.
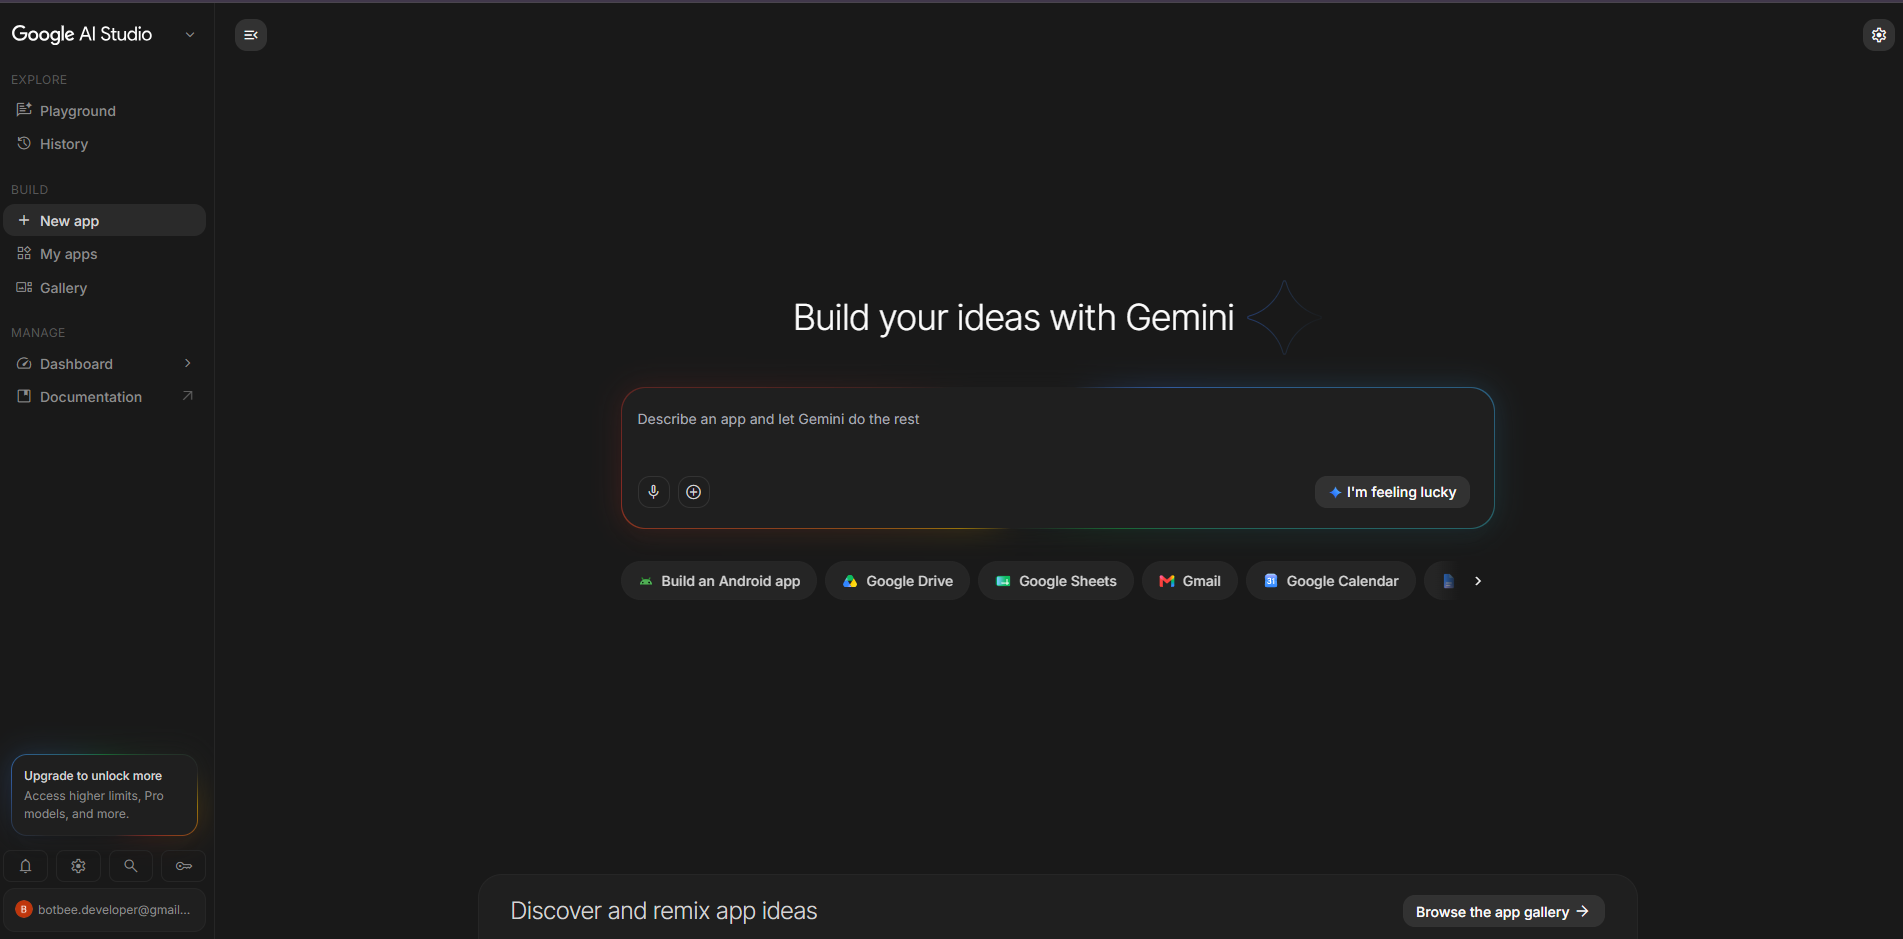
Open Dashboard → API Keys
- Click Dashboard.
- Click API Keys.
- Already have a suitable Gemini key? You can reuse it instead of creating a new one.
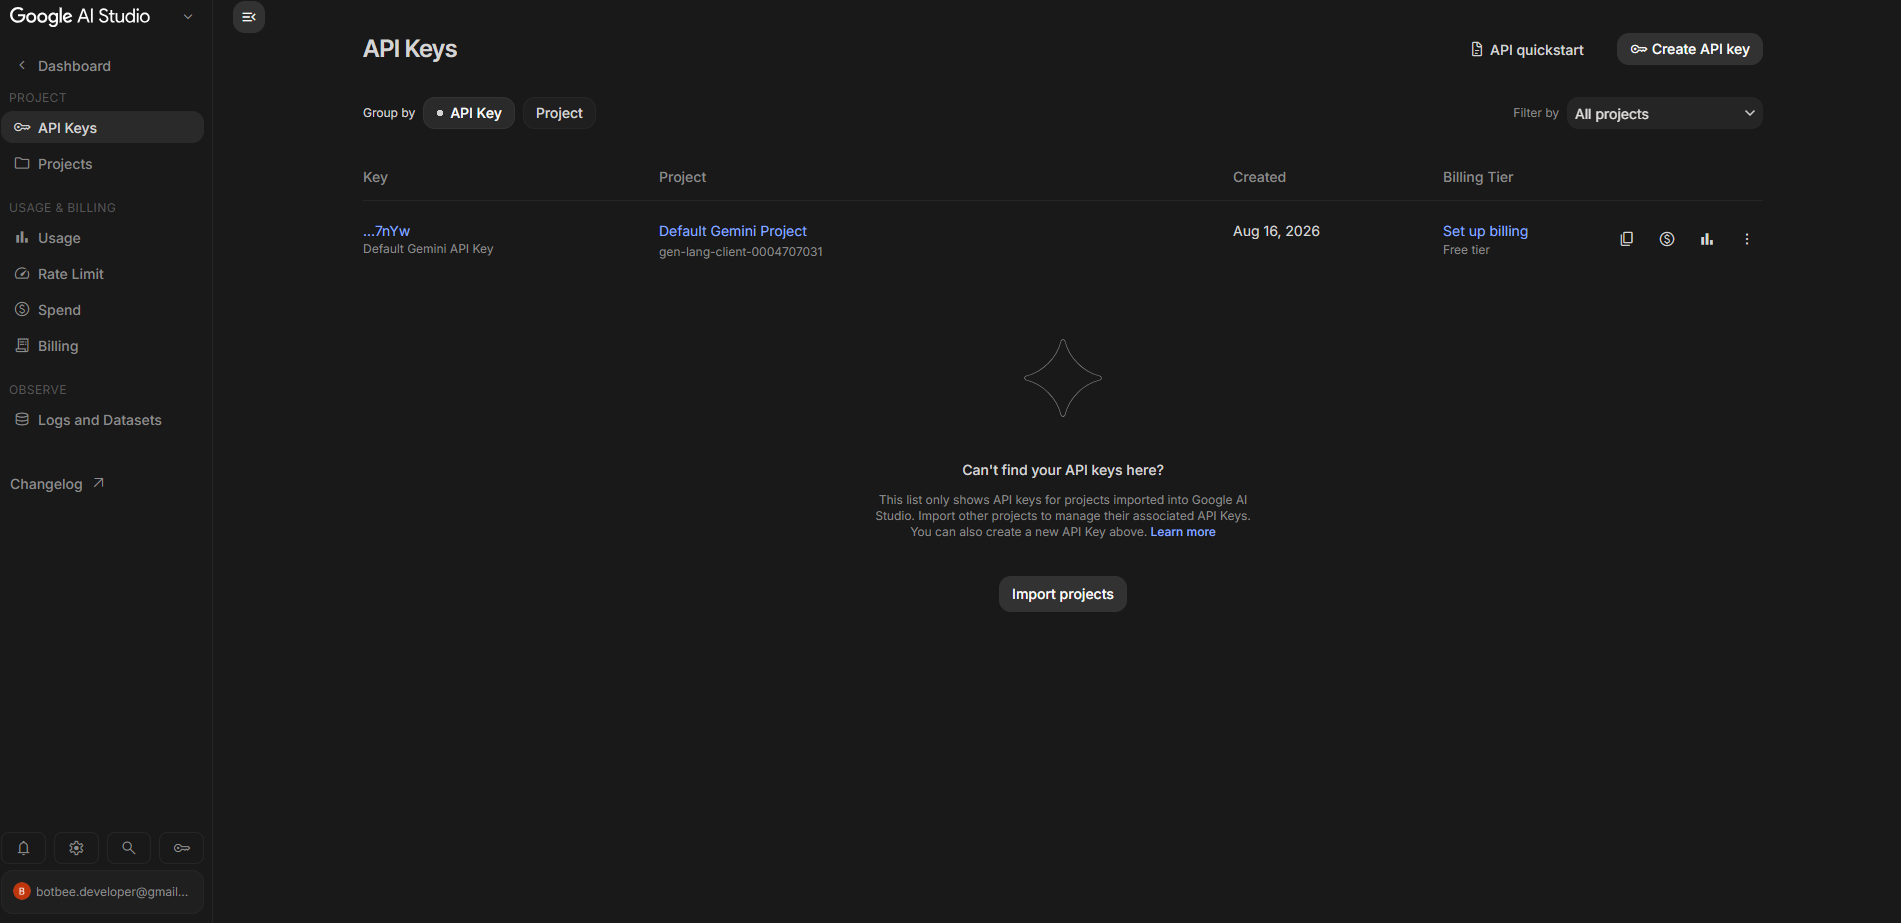
Create a New API Key
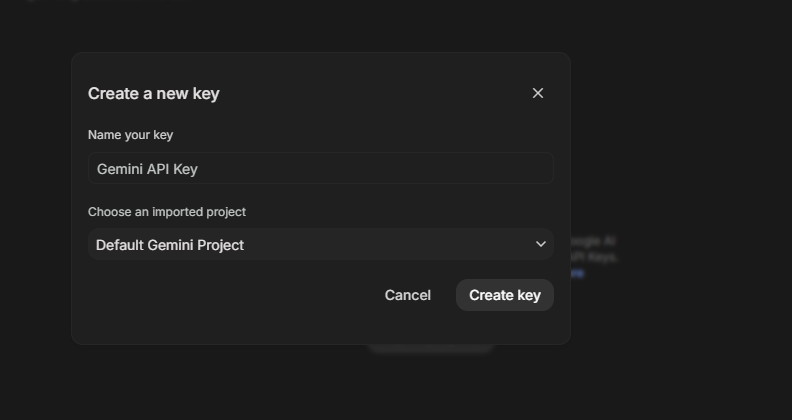
On the API Keys page, click Create API key and complete the dialog.
- Enter a clear name — e.g. BotBee Gemini API Key
- Select the appropriate project if prompted.
- Click Create key.
- Wait for the key to generate.
Tip: New AI Studio keys are currently created as authorization keys. Keep the key private.
Copy the Generated Key
- Copy the complete key using the copy icon.
- Don't share it publicly.
- Keep it ready for the BotBee settings step.
Open BotBee Control Panel Settings
Log in to your BotBee Dashboard and open Control Panel → Settings → AI API.
- Go to Settings.
- Select AI API.
- Find the Gemini Key field.
Paste the Key into BotBee
- Paste the complete key without changing any characters.
- Click Save.
- The key is now configured in BotBee.
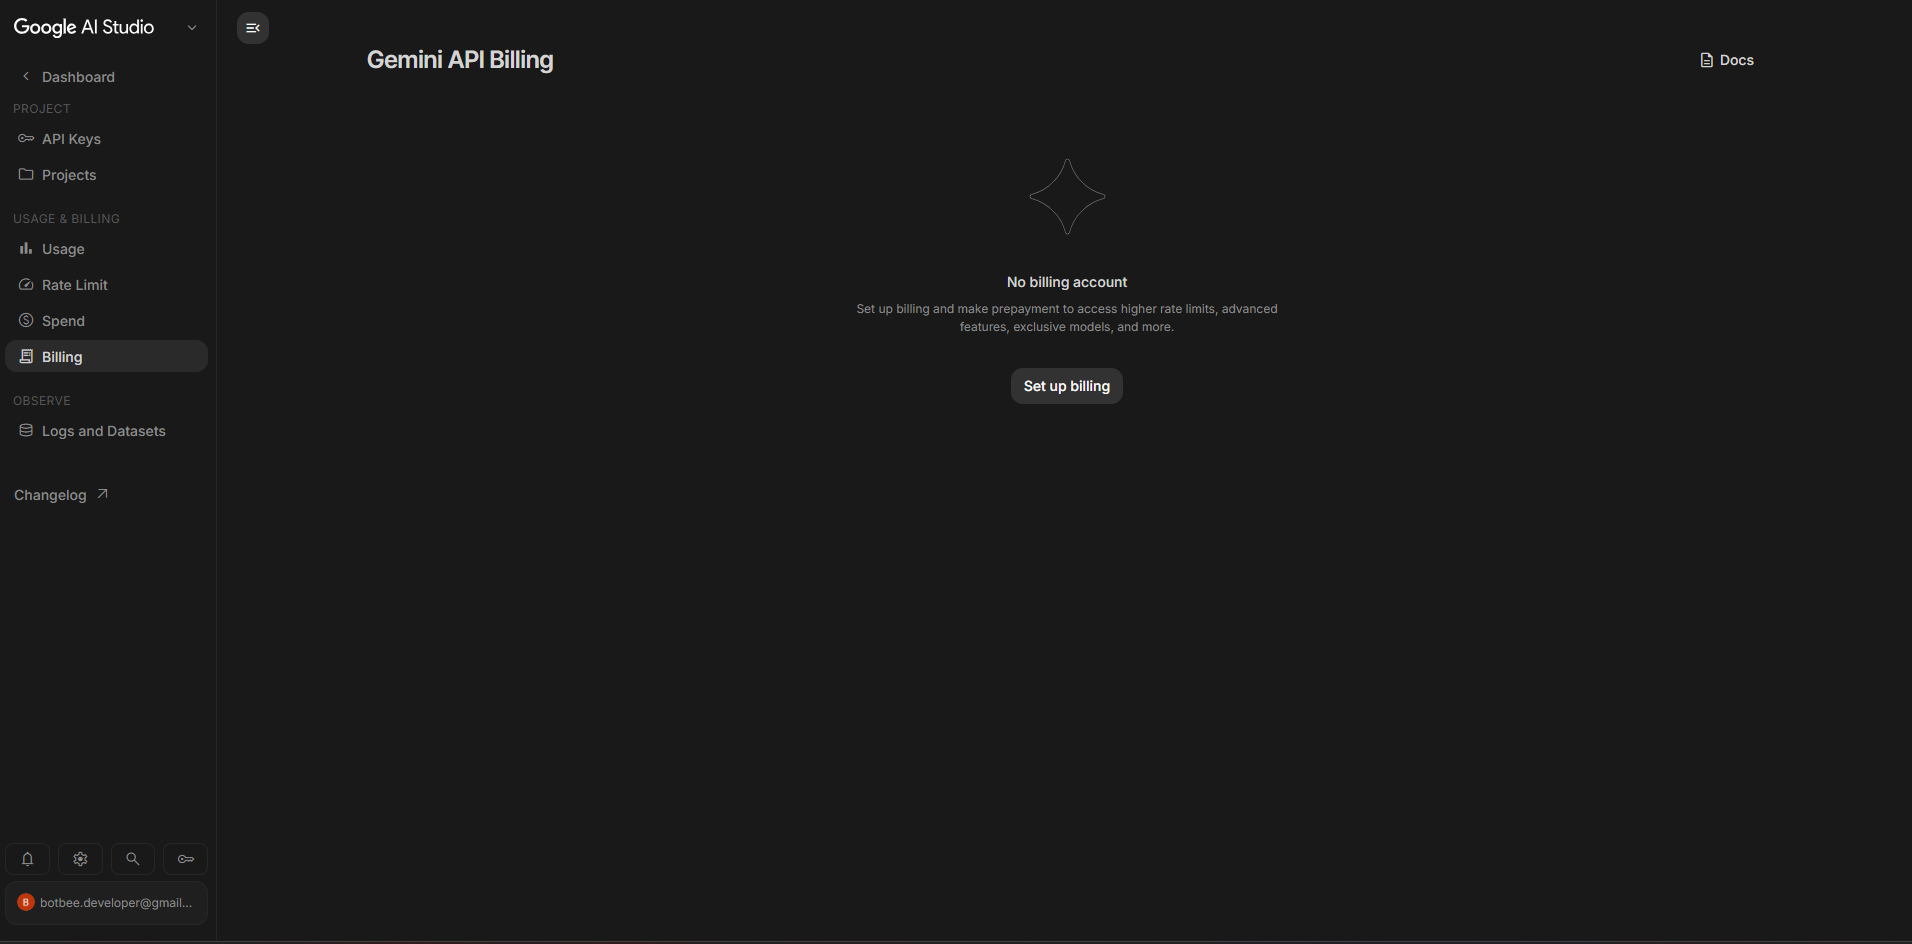
Open Gemini API Billing
Return to Google AI Studio and open Billing.
- Click Billing in the left navigation.
- On the Free Tier? Locate your project and click Set up billing.
- If prompted, select the project tied to your Gemini API key.
Add Billing & Payment Details
Follow Google's billing setup dialog to create or link a Cloud Billing account.
- Select your country/region if requested.
- Add or confirm your contact information.
- Add or select your payment method.
- Review and click Submit.
Tip: Depending on your account, Google may show Prepay or Postpay. For Prepay, you'll need to purchase prepaid credits before paid usage can continue.
Buy Gemini API Credits
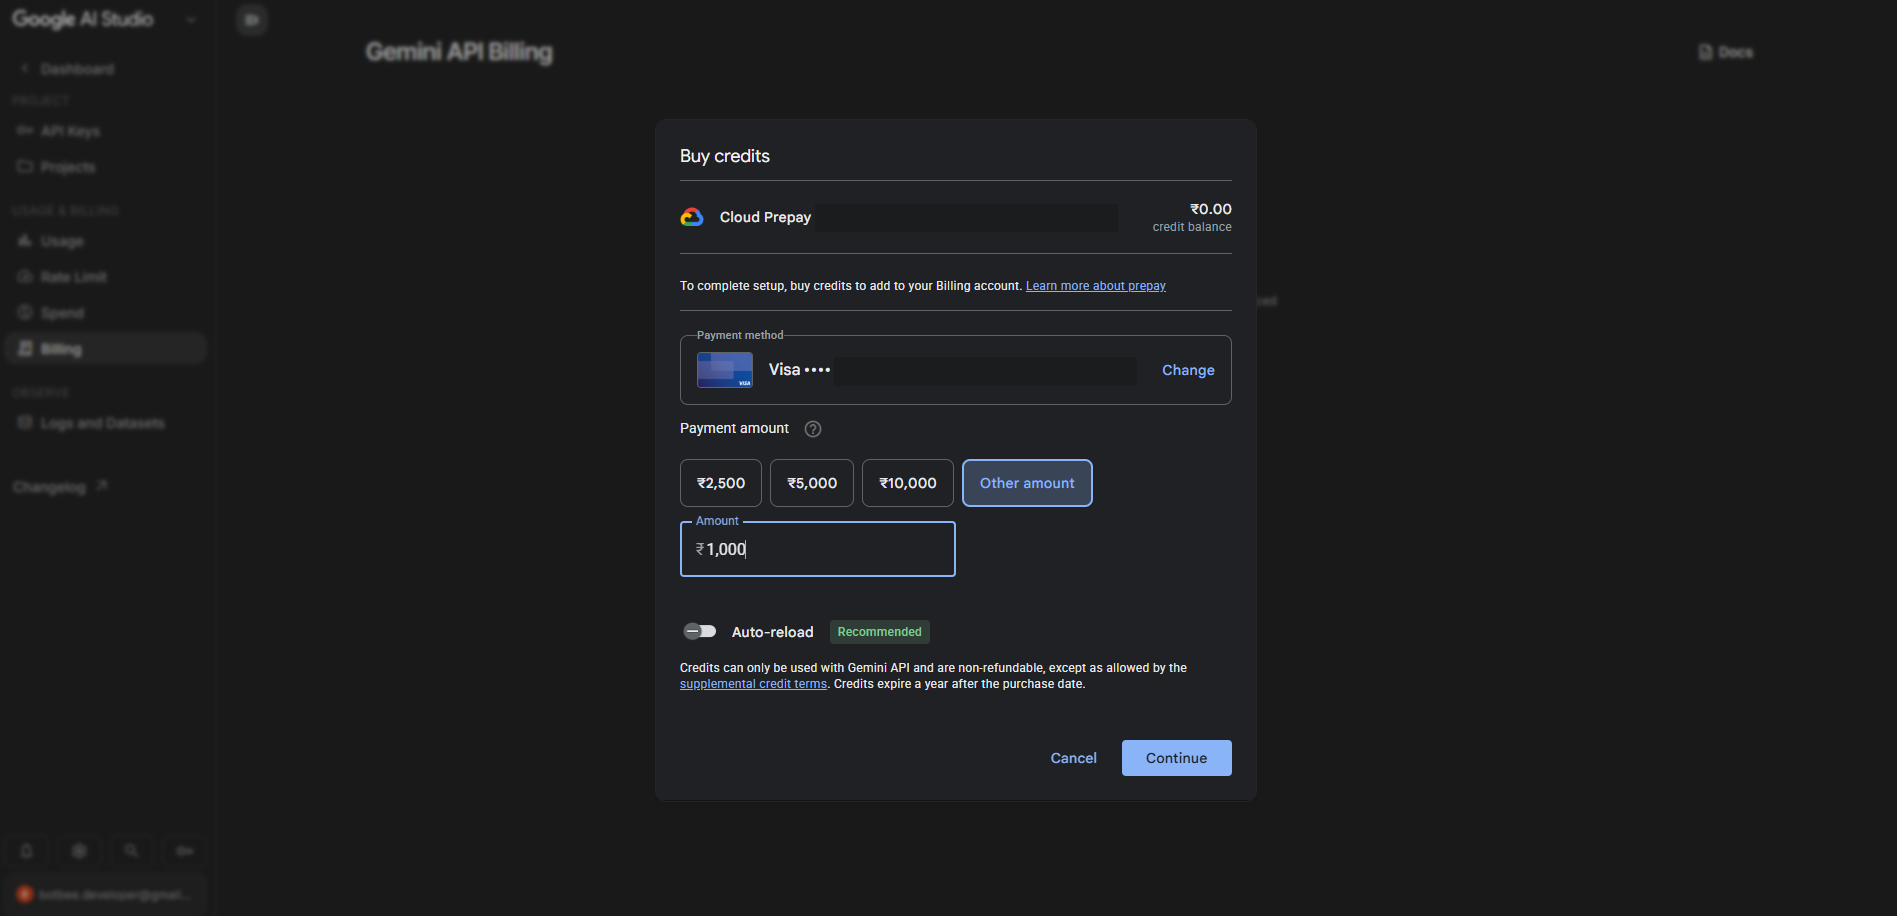
If your account uses the Prepay model, purchase prepaid credits after billing is set up.
- Open the Billing page and click Buy credits.
- Select Other amount for a custom value.
- Enter the minimum amount accepted by your account.
- Click Continue and complete the payment.
Tip: Google's documentation lists a minimum prepaid purchase around $10 or the local equivalent — the exact minimum varies by region/account, so follow what's shown at checkout.
Confirm the Credit Balance
- Check the Credit balance on the Billing page.
- Confirm the payment completed successfully.
- Refresh the page if the balance doesn't appear right away.
Test Gemini in BotBee
- Run a small test first.
- Confirm the request succeeds.
- For audio features, test transcription/translation with a short audio file.
- If it fails, check the API key, project, billing status, and any key restrictions.
✅ Setup Complete
Once your Gemini API key is saved in BotBee and your Google project has active billing/credits, BotBee can use Gemini-powered features available to your account — including supported audio transcription and translation.
Quick Checklist
🔒 API Key Security
- Treat your Gemini API key like a password.
- Never publish it in screenshots, GitHub repos, websites, or chat messages.
- If it's ever exposed, revoke/delete it and create a new one.
- Use secure server-side storage for production applications.
Official Google References
Found this article helpful?
( 2 Out of 4 Found Helpful )