How to build an AI Chatbot on WhatsApp
AI chatbots help automate conversations and provide instant customer support. By integrating ChatGPT with BotBee and training the bot using FAQs, URLs, and files, you can build an intelligent chatbot without complex coding. This guide explains how to connect ChatGPT with BotBee step by step.
Step-by-Step Guide to Integrate ChatGPT with BotBee:
Step 1: Create an OpenAI Account:
- Visit platform.openai.com and sign up using your email address.
- Go to “Start Building” from the dashboard beside your profile icon.
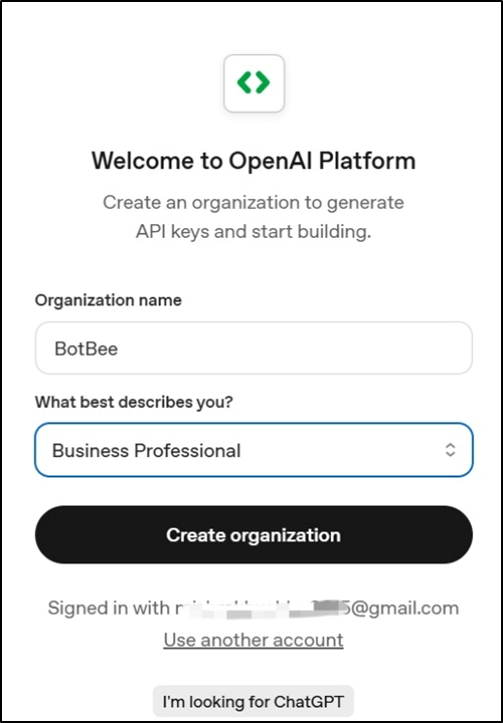
- Fill out your relevant information and Click on “Create Organization.”
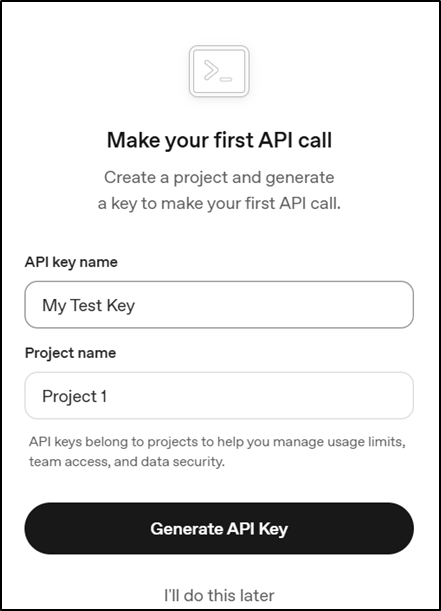
- Now Create a project. Also add the name of your API Key.
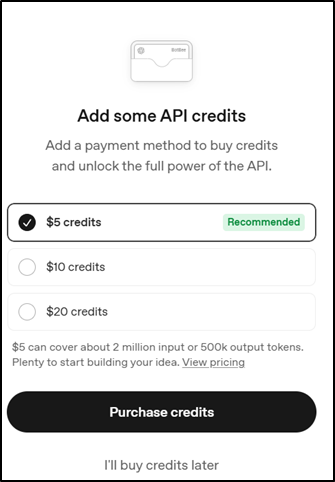
- Purchase the API Keys and Copy the API Key and Store it securely.
Step 2: Integrate with BotBee:
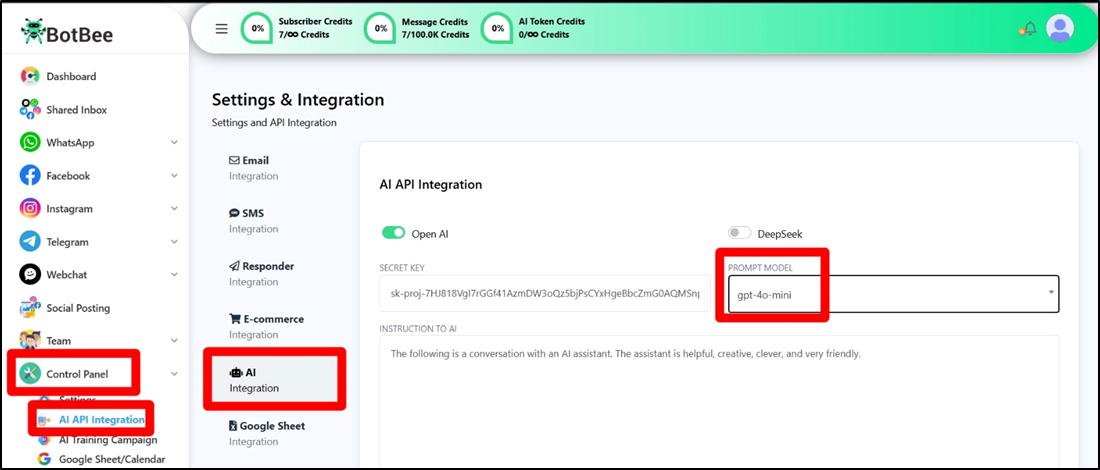
- Log in to the BotBee dashboard, Choose “AI API Integration”.
- Click on AI Integration under it.
- Paste the copied API key, choose the prompt model as GPT-4.O mini, and click Save.
With the integration complete, the next step is to train your AI chatbot using FAQs, URLs, and files to improve its responses.
How to Train your AI Chatbot
Step 1: Initialize the AI Model:
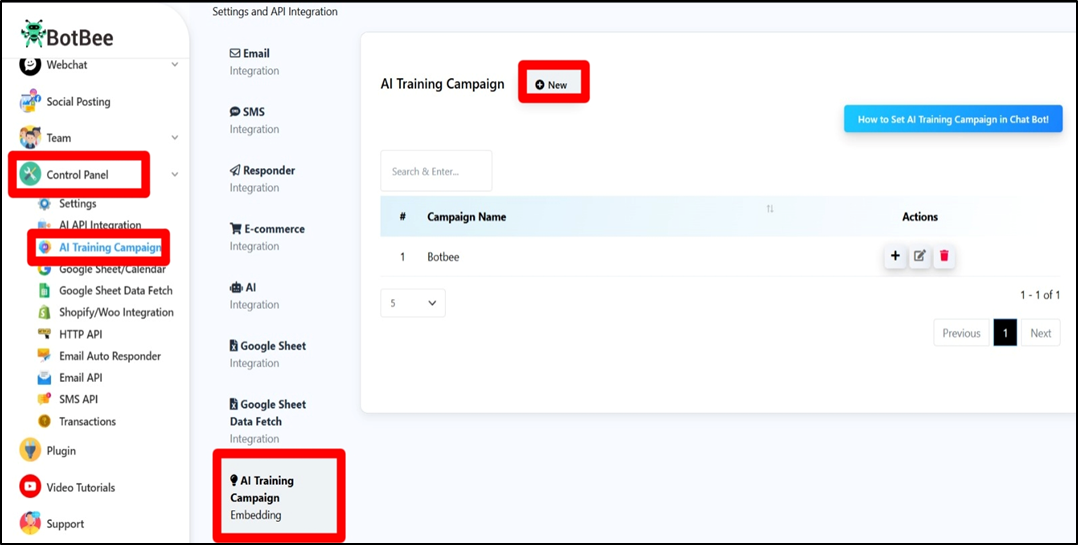
• Log in to the BotBee Dashboard.
• Navigate to Settings → AI Training Campaign.
• Click New and enter a name for your AI model.
• Under Basic Training, let the default written prompt be there and paste your company or business information after that.
• Click Save.
Step 2: Ingest Training Data:
You can now add structured and unstructured data to train the chatbot.
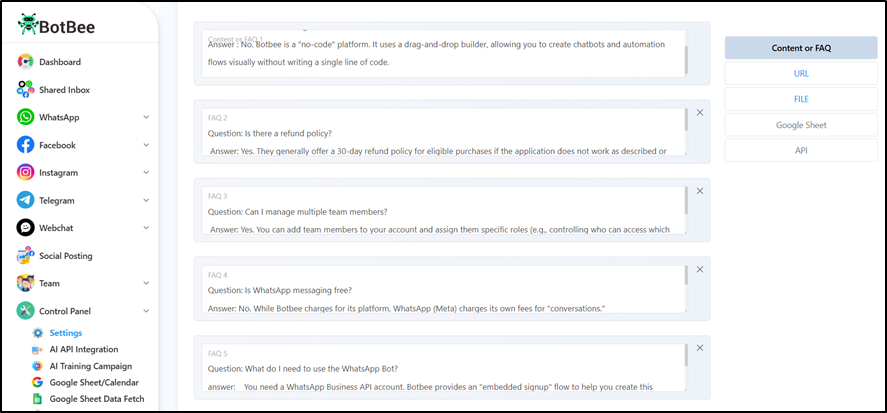
Frequently Asked Questions (FAQs):
- Click the (+) Plus button.
- Add question-and-answer pairs.
- Click Save.
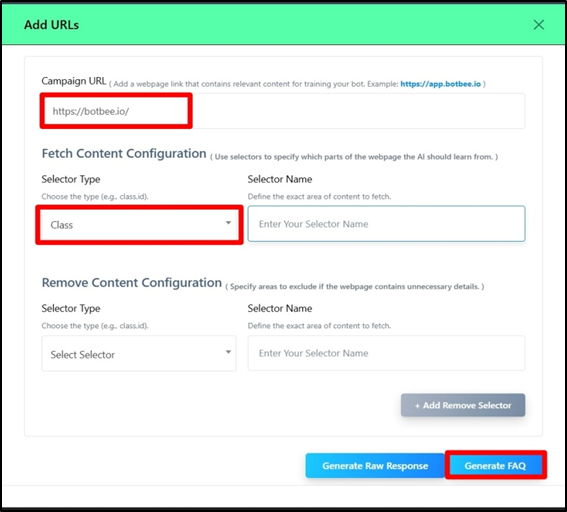
URLs:
- Click the (+) Plus button and select URL.
- Enter your business website link.
- Set Selector Type to Class.
- Click Generate FAQ, then Save.
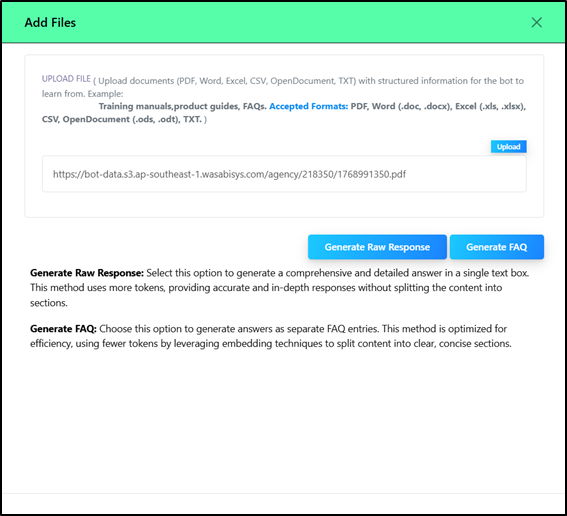
Files:
- Click the (+) Plus button and select URL.
- Upload PDF or text files.
- Click Generate FAQ to extract knowledge.
- Click Save.
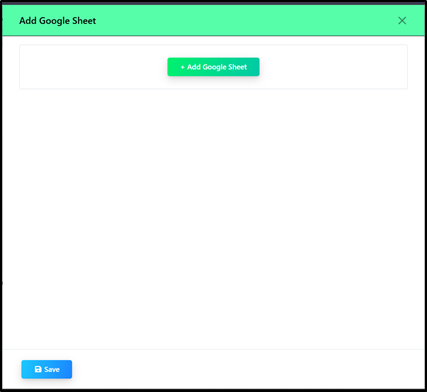
Google Sheets:
- Click the (+) Plus button and select URL.
- Upload your Google Sheet.
- Click Generate FAQ to convert the sheet data into training content.
- Click Save.
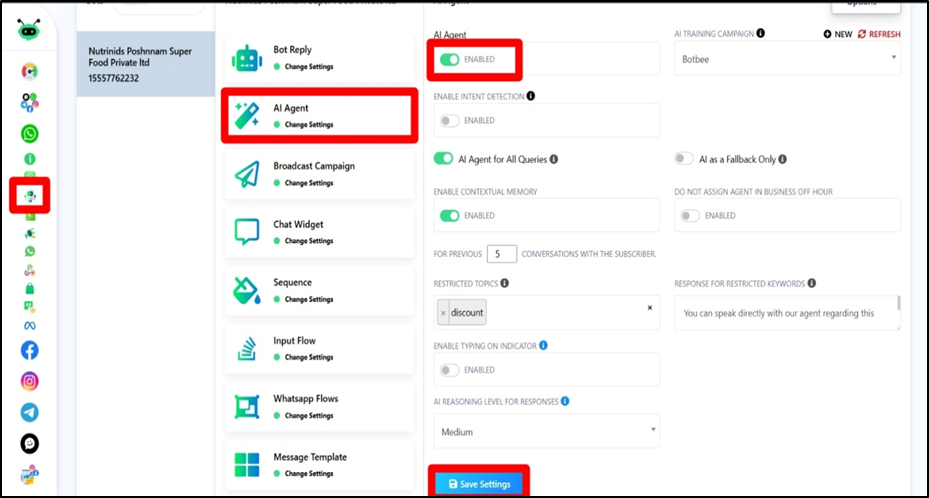
Step 3: Activate and Configure the AI Assistant:
- Go to Bot Manager → AI Assistant.
- Enable the Status toggle.
- Select Fallback Only (Recommended) so the AI responds only when predefined flows don’t match.
- Enable Contextual Memory and set a limit (for example, 10 messages).
- Add Restricted Topics such as competitor names if required.
- Select your created AI Campaign model.
- Click Save.
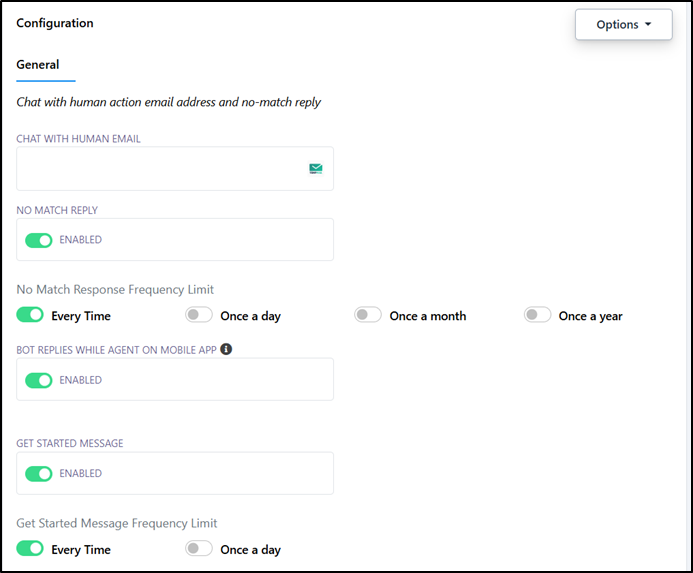
- Now scroll down and Go to “Configuration”
- Enable the “No match Reply” toggle and set the Frequency Limit to “Everytime.”
- Click Save.
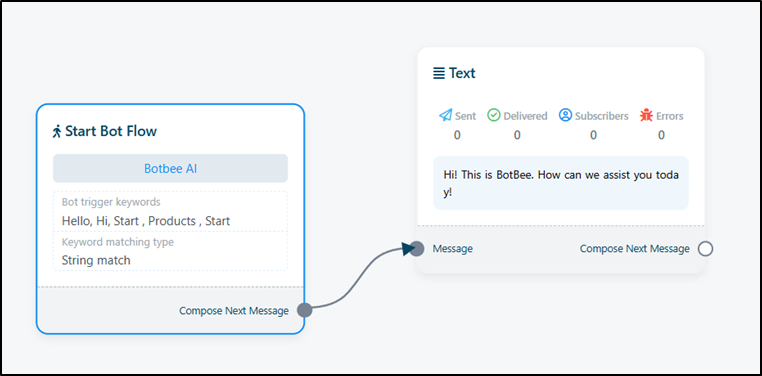
Step 4: Test the AI Chatbot :
- Navigate to Bot Reply.
- Create a trigger keyword flow (for example, “Hi”). And Save it.
- Start chatting with the bot to verify that it responds correctly based on the training data.
After completing these steps, your AI chatbot is fully trained and ready to deliver accurate, context-aware responses using your business data. You can continuously update FAQs, URLs, and files to improve its performance over time.
Reference Video:
If you prefer video tutorials here are the links:
English: https://youtu.be/xfzk_L77M2Y
Hindi: https://youtu.be/FoGLktCeEds
Still Need Help?
If you face difficulties during onboarding:
- Take a screenshot or screen recording.
- Share details with our support team.
Our team will review the onboarding step and guide you further.
Contact: 08069645300
Found this article helpful?
( 1 Out of 2 Found Helpful )