Creating a Multi-Screen WhatsApp Flow in BotBee
Multi-screen WhatsApp flows make conversations more interactive and organized by guiding users through multiple steps inside a single WhatsApp experience. With BotBee, you can easily create these flows to collect customer information, generate leads, handle bookings, run surveys, and automate user interactions without writing complex code.
In this guide, we’ll walk through the complete process of creating a multi-screen WhatsApp flow in BotBee step by step, from setting up screens to connecting actions and publishing the flow.
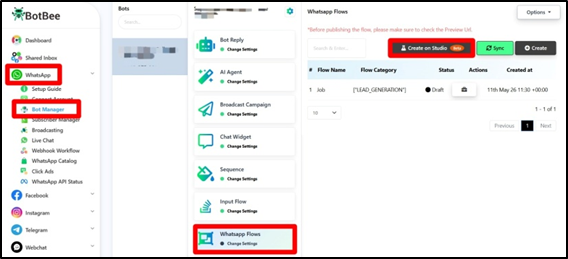
Step 1: Navigate to WhatsApp Flows:
- Login to BotBee dashboard.
- Go to Bot Manager under the WhatsApp section.
- Click on WhatsApp Flow.
- Click on “Create on Studio” to open the Flow Builder.
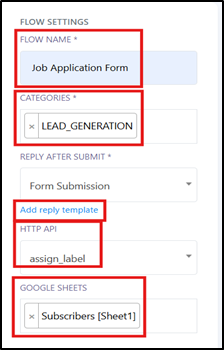
Flow Settings
- In the top-right corner of the Flow Builder, you will find the Flow Settings section. Here you can configure the main settings of your WhatsApp flow.
- Flow Name: Enter a unique name for your flow to easily identify it later.
- Category: Select the category that best matches your flow.
- Available options include: Sign-up, Sign-in, Appointment Booking, Lead Generation, Contact Us, Customer Support.
- Reply After Submit: Select the bot flow that should trigger after the user submits the form.
- You can click on Add Reply Template to create a new bot flow directly from here.
- HTTP API: Connect your WhatsApp flow with an HTTP API to send collected data to third-party software, CRMs, or external applications.
- Google Sheets: Select the Google Sheet where you want all submitted form data to be automatically stored.
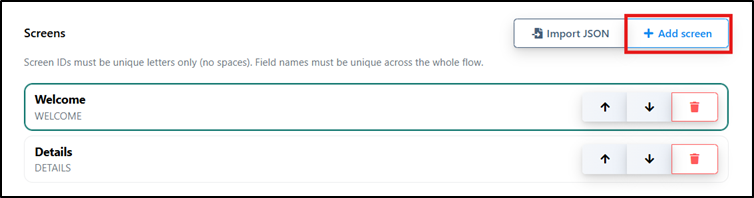
Screens:
- The Screens section allows you to create a multi-screen WhatsApp form experience for users.
- Each screen works like a separate page in the form.
- Users move from one screen to another after submitting the previous screen.
- This helps you organize long forms into smaller and more interactive steps.
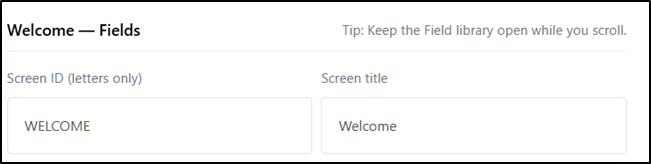
Screen ID:
Every screen must have a unique Screen ID.
• Only letters are allowed.
• Spaces are not allowed.
• The Screen ID must be different for every screen.
Screen Title:
• Enter a title for the screen that will be shown inside the flow.
• The title must also be unique across the entire flow.
Field Library Elements:
Now let’s explore all the elements available inside the Field Library one by one.
1. Heading:
- The Heading element is used to add the title of a screen or section.
- It helps users understand what the current page is about.

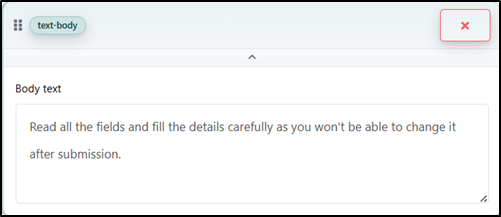
2. Text Body:
- The Text Body element allows you to add normal text separately from input fields.
- You can use it to provide instructions, descriptions, or guidance on how users should fill out the form.
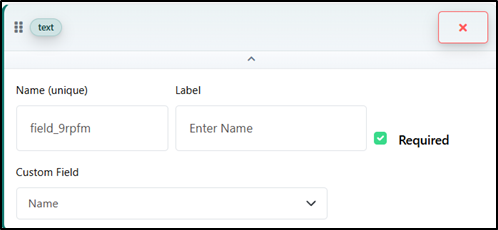
3. Text Input:
- The Text Input field is used for collecting short values such as: Name, Email, City, Company Name.
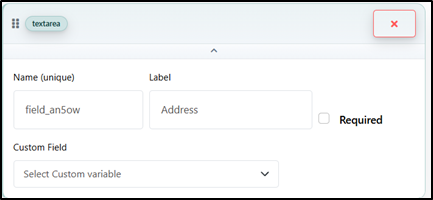
4. Text Area:
- The Text Area field is used for collecting larger text inputs.
- It is ideal for details like: Address, Feedback, Notes, Descriptions
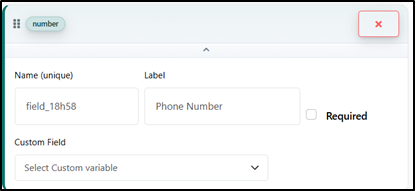
5. Number:
- The Number field is used for inputs that only contain numeric values.
- Examples include: Phone Numbers, Age, Order Quantity, PIN Codes
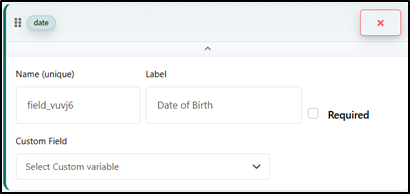
6. Date:
- The Date field allows users to select or enter date-based information.
- Common use cases include: Date of Birth, Appointment Date, Booking Date
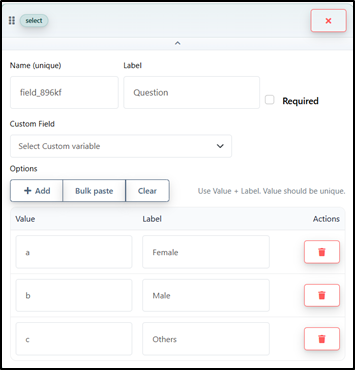
7. Drop-down:
- The Drop-down element allows users to choose from multiple options in a menu.
- This helps keep forms clean and organized when there are many choices.
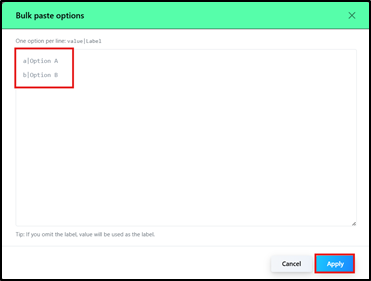
- You can also bulk paste options using the following format:
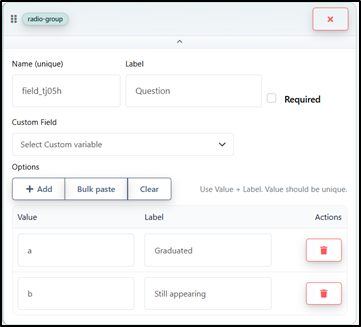
8. Radio:
- The Radio field is used for multiple-choice questions where users can select only one option.
- This is useful for single-selection questions.
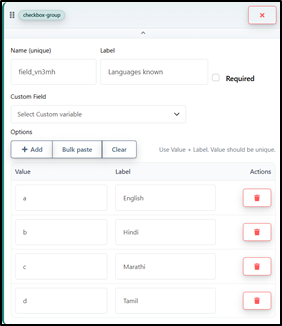
9. Checkbox:
- The Checkbox field is also used for multiple-choice questions.
- Unlike radio buttons, users can select multiple options here.
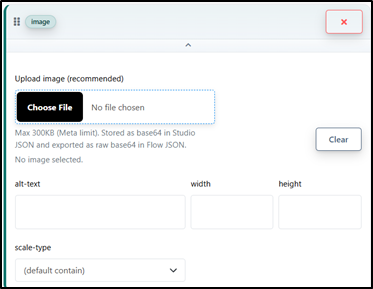
10. Image:
- The Image element allows you to add images inside the form.
- You can use it for: Company Logos, Banner Images, Product Images, Instructions or Visual References
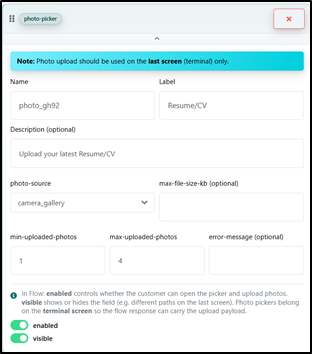
11. Photo Upload:
- The Photo Upload field allows users to upload images or photos directly inside the WhatsApp flow.
- This can be used for: ID Proofs, Profile Photos, Documents, Verification Images
- You can configure: Minimum file size, Maximum file size, Minimum upload limit, Maximum upload limit, Custom error messages
- Note: Photo Upload fields should only be used on the last terminal screen of the flow.
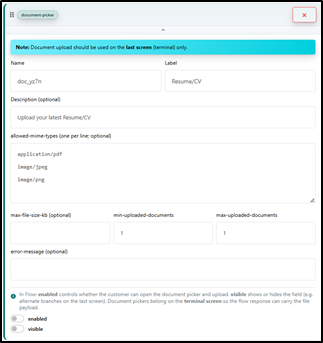
12. Document Upload:
- The Document Upload field works similarly to Photo Upload but is used for document files.
- Users can upload files such as: PDFs, DOC Files, JPG/PNG Files, Other supported formats
- You can configure: Minimum file size, Maximum file size, Minimum upload limit, Maximum upload limit, Supported file formats, Custom error messages
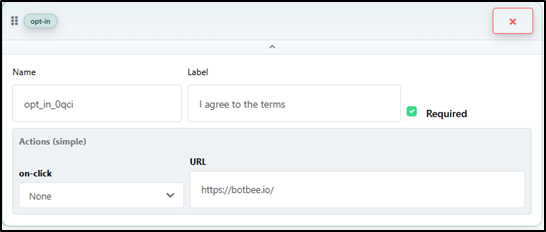
13. Opt-in:
- The Opt-in field is used for declaration or consent messages such as: “I agree to the Terms & Conditions”, Privacy Policy acceptance, Marketing consent
- You can also attach a link to your Terms & Conditions or Privacy Policy page so users can review it before opting in.
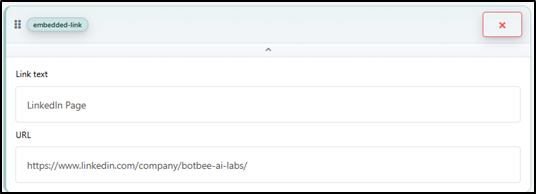
14. Embedded Link:
- The Embedded Link element allows you to add clickable links inside your form.
- You can use it for: Social Media Links, Website Links, Help Pages, External Resources, Contact Pages.
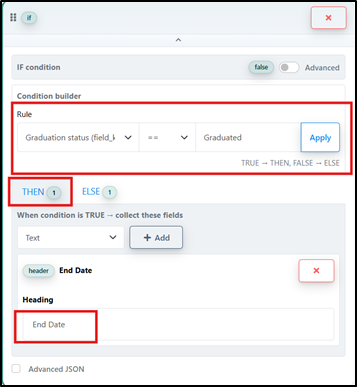
15. If Condition:
- The If Condition element allows you to create conditional logic inside your WhatsApp flow.
- Using this feature, you can show different fields or screens based on the user’s response.
For example:
- If a user selects Yes, you can show one set of fields.
- If a user selects No, you can show a different set of fields.
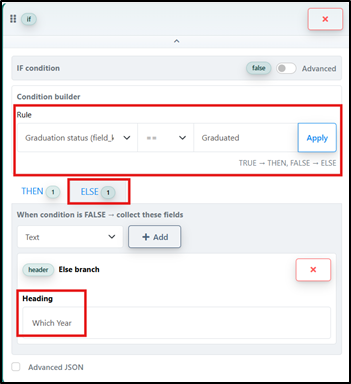
The If Condition block contains:
- Condition Builder: Select a field, choose a condition operator, and define the value for comparison.
- THEN Branch: Fields inside this section will appear when the condition is TRUE.
- ELSE Branch: Fields inside this section will appear when the condition is FALSE.
16. Button Label:
- The Button Label element is used to customize the action button shown at the bottom of the screen.
You can use it as:
- A Submit button for the final screen
- A Next button to move users to the next screen

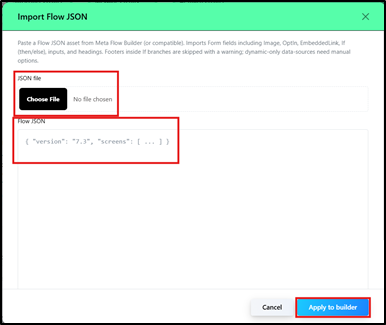
Import Flow JSON:
- BotBee also allows you to import an existing WhatsApp flow using a JSON file.
This is useful when:
- Reusing existing flows
- Migrating flows from another builder
- Sharing flow templates between projects
- Quickly setting up complex forms
You can:
- Upload a JSON file directly
- Paste the Flow JSON manually into the editor
- After importing, click on Apply to Builder to load the flow into the studio.
Creating a multi-screen WhatsApp flow in BotBee helps you build interactive, organized, and user-friendly experiences directly inside WhatsApp. With features like multiple screens, conditional logic, file uploads, integrations, and customizable form elements, you can create powerful workflows for lead generation, customer support, bookings, registrations, and much more.
By using the Flow Builder and its flexible field library, you can design complete WhatsApp forms without complex coding and automate data collection efficiently. Start experimenting with different screens and conditions to create smarter and more engaging WhatsApp conversations for your business.
Still Need Help?
If you face difficulties during onboarding:
- Take a screenshot or screen recording.
- Share details with our support team.
Our team will review the onboarding step and guide you further.
Contact: 08069645300
Found this article helpful?
( 1 Out of 1 Found Helpful )